
Foaming Wash
Why Use a Foam Cannon
Use the BOSS™ foam cannon to lift and encapsulate dirt safely—extend dwell time for cleaner paint and optionally finish with Poly Gloss for protection.
Setup & Tips
Step 01
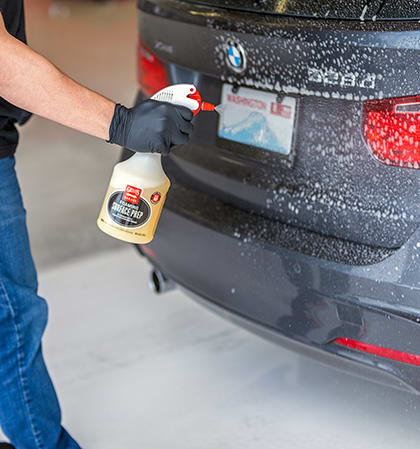
PRE-TREAT
Depending on how long it's been since your previous wash and what kind of environment your vehicle has been exposed to, it is likely that you have excess buildup of dirt, grime, and road film on areas like your rocker panels, rear end, and fenders. Pre-soak these areas with Foaming Surface Prep diluted at 10:1 in the secondary bottle and allow to dwell for 3-5 minutes but do not allow to dry.
Step 02
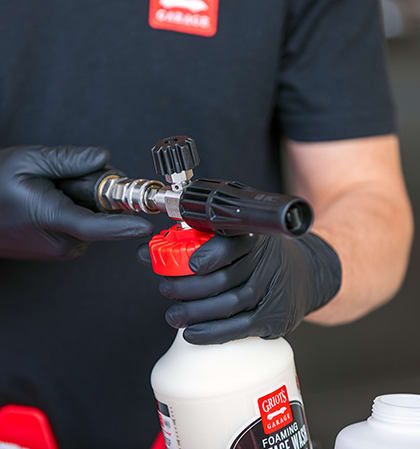
SETUP
We recommend using our Stainless-Steel Quick Disconnect Coupler (not included) to mount your cannon right at the end of the gun with the included Stainless Steel Quick Coupler Plug. By eliminating the lance, the cannon becomes much easier to control. Be sure you have the correct jet installed in your cannon. The 1.1mm jet is best for lower psi pressure washers around 2500 psi or below and the 1.25mm jet (pre-installed) for units above 2500 psi. Then select the proper metering tip (pink for 2500 psi and above, purple for below 2500 psi and aqua for maximum foam), insert it into the pick-up ball and screw on your Foaming Surface Wash bottle.
Step 03
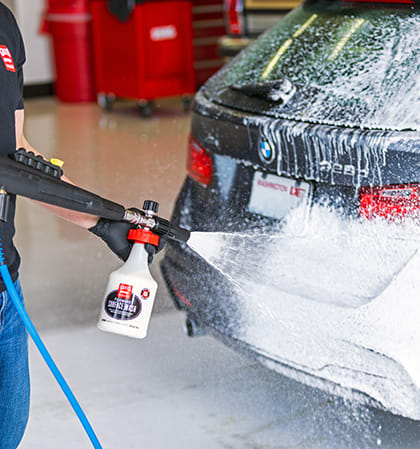
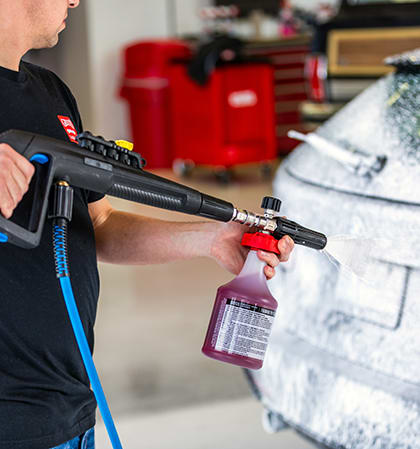
FOAM
Skip doing a pre-rinse to achieve superior cling from your foam. Start foaming from the bottom up for a longer dwell time and allow the dual-layer foam to dwell for 5 to 10 minutes but do not allow to dry. The primary foam gently loosens, lifts, and encapsulates dirt and grime, while the secondary foam releases and safely carries the debris to the ground. Performing this step prior to a rinse allows the Foaming Surface Wash to release soiling and contaminants from the surface to maximize the cleaning effectiveness of your rinse in the next step.
Step 04
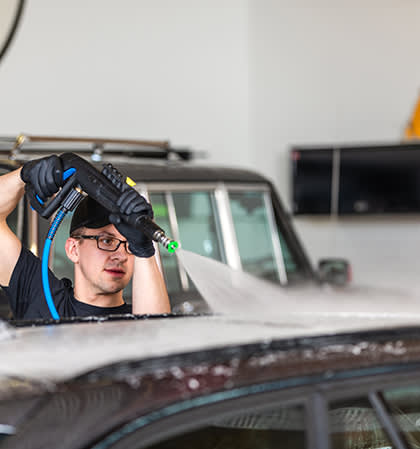
RINSE
Now that the foam has begun to loosen and release dirt and grime, you're ready for a thorough rinse. Insert a 25° nozzle in your pressure washer, then use slow, deliberate, overlapping passes to apply a high-pressure rinse from the rocker panel to the roof, then top down. The bottom up, top-down approach allows your foam to see maximum dwell time so that it can continue working to release dirt and grime and help prevent wash induced scratches.
Step 05
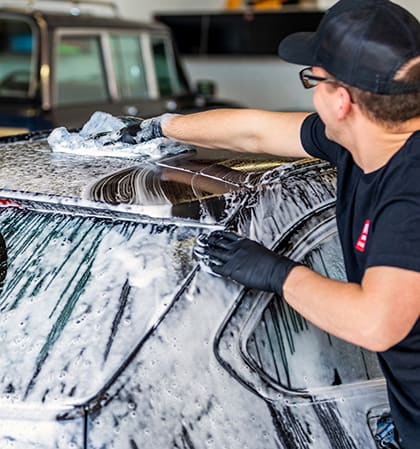
HAND WASH (optional)
After rinsing, evaluate your finish. If you have stubborn residual grime still present, follow up with a hand wash using a bucket or re-foam, mitt right over it, then rinse. For well maintained and protected vehicles, the foaming system can serve as a touchless wash method, and you can proceed to the next step. If you do need to do a contact wash, you can rest assured that all abrasive contaminants have been removed from the surface to prevent wash induced scratches. At this point you wash from the top down as normal.
Step 06
PROTECT
Lay down a layer of Foaming Poly Gloss to add protection to all exterior surfaces and reinvigorate previously applied waxes or sealants. Foaming Poly Gloss delivers robust protection, intense gloss, and impressive water repellency on all exterior surfaces. Simply foam on, allow to dwell for 60 seconds, and rinse off.
Tip: If your vehicle has ceramic protection already applied, skip the Poly Gloss in step six and use our Ceramic Speed Shine as a drying aid. Mist on a spray or two panel by panel and immediately dry off.
Step 07
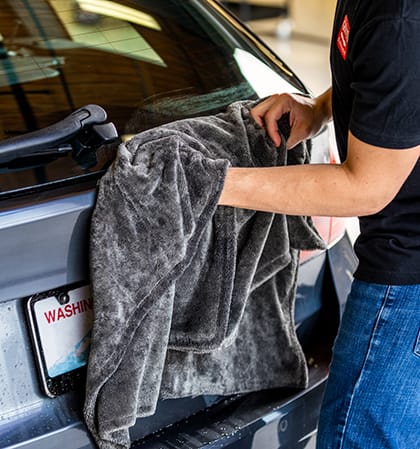
DRY
To quickly dry your vehicle, we recommend our extremely absorbent Extra-Large PFM Edgeless Drying Towel. Dragging this thirsty, XL towel across your paint effortlessly achieves a perfectly dry surface. Its thick PFM weave can handle even large vehicles like SUV's, trucks, and RVs with no wringing and maximum time savings.
Frequently Asked Questions
No—skipping the pre-rinse allows the foam to cling longer and lift more dirt.
Let dwell 5-10 minutes, starting from the bottom—but never let it dry on the paint.
Yes, on well-maintained cars—otherwise, follow with a light bucket wash to ensure grit is removed.